
How to Use Millisai: A Beginner’s Step-by-Step Tutorial

Ever wanted to create an AI voice agent that responds in just 600 milliseconds? Today, we’ll show you how in our millisai tutorial.
Millis AI makes creating conversational agents incredibly simple, allowing you to build voice assistants in just minutes. Unlike typical millis tutorials focused on Arduino timing functions, we’re diving into a platform that enables effortless creation of human-like conversational agents with industry-leading ultra-low latency. These agents can handle interruptions, detect end of turns, and understand human intents while maintaining that impressive 600ms response time.
What makes this platform particularly valuable is its versatility. Millis AI supports seamless integration with phone numbers, APIs, and various voice and LLM providers, making it perfect for customer support, virtual assistants, and automation across different industries.
In this step-by-step guide, we’ll walk you through setting up your account, building your first voice agent, and integrating it into your applications. Let’s get started with creating your own lightning-fast AI assistant!
Step 1: Set Up Your Millis AI Account
Getting started with Millis AI requires creating an account first. This platform enables both developers and non-technical users to build voice agents with remarkable 600ms latency [1].
To begin, visit the Millis AI website and locate the “Get Started” button on the homepage [1]. Click this button to access the sign-up page where you can create a new account. For convenience, you can register using your Google account or provide your email details for a standard registration.
After successfully logging in, you’ll be greeted with the main dashboard interface. This is your control center for creating and managing voice agents. The clean, intuitive layout makes navigation straightforward even for beginners.
Next, familiarize yourself with the dashboard sections. You’ll notice options for creating different types of agents, viewing analytics, and accessing settings. The platform’s no-code/low-code approach ensures you won’t need extensive technical knowledge to proceed [1].
Before moving forward with building your first voice agent, take a moment to explore the available documentation and resources. Millis AI offers comprehensive guides that can help you understand the platform’s capabilities.
The account setup process is deliberately simple, allowing you to quickly move on to the more exciting aspects of agent creation. With your account now ready, you’re prepared to build your first customized voice agent.
Step 2: Build and Customize Your Voice Agent
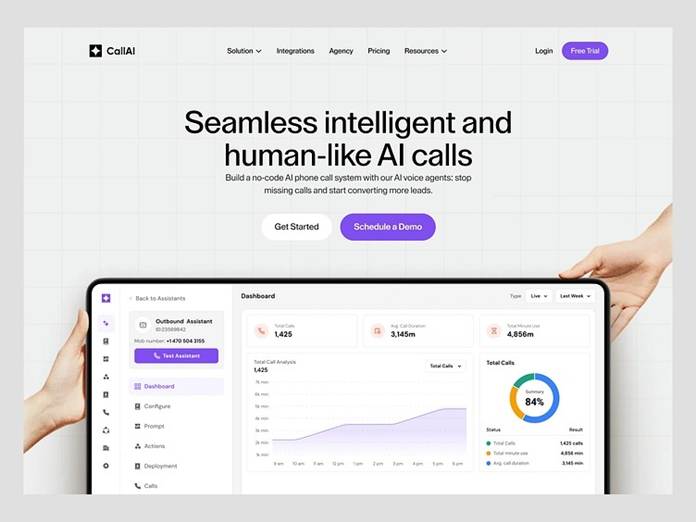
Image Source: Dribbble
Now that your account is ready, let’s create your voice agent. The Millis AI Playground offers extensive customization options for building your personalized voice assistant.
Begin by accessing the Playground interface and clicking “Create Voice Agent.” First, select your preferred voice provider – choose from natural-sounding options like ElevenLabs, PlayHT, or Cartesia. You can even bring your own cloned voice for a unique sound [2].
Next, connect with your preferred LLM. Millis AI supports integration with top providers including OpenAI, open-source models like Mistral and Llama, or your own custom LLM [2]. This flexibility lets you select the model that best fits your specific requirements.
Configure your agent’s basic settings by typing a first message that will greet users. Additionally, set the language from over 100 supported options [3].
For voice settings, specify voice_id and model parameters. Furthermore, customize flow settings to determine conversation dynamics – whether users speak first, how interruptions are handled, and response delays [4].
Advanced users can establish a knowledge base by uploading files or connecting a custom LLM via WebSocket [5]. This WebSocket connection enables real-time interaction between your voice agent and custom LLM, ensuring responses aligned with your specific requirements [6].
With these configurations complete, your voice agent is ready for testing.
Step 3: Integrate and Test Your Agent
After creating your voice agent, it’s time to integrate it into your applications and test its functionality. Millis AI offers multiple integration methods to suit various use cases.
The most straightforward approach is using webhooks. These allow your agent to connect with third-party services during conversations. You can configure two types: Prefetch Data Webhooks (called before conversations begin) and End-of-Call Webhooks (triggered after sessions conclude).
For application integration, use the Web SDK with this simple code:
msClient.start({ agent: { agent_id: “your_agent_id” } });
To enhance your agent’s capabilities, add function integrations. For instance, appointment scheduling through requires configuring the API key and event type ID. First, sign up for a account, create an event, then copy the event type ID from the URL. Subsequently, generate an API key with no expiration date from settings.cal.comcal.comcal.com
For native apps, use WebSocket integration:
let ws = new WebSocket(“wss://api-west.millis.ai:8080/millis”); ws.binaryType = “arraybuffer”;
Test your agent thoroughly by simulating real-world scenarios. Monitor response latency, which should maintain the impressive 600ms standard.
Finally, embed your agent on websites using either HTML iframe or JavaScript for a floating chat button that appears in the corner of your webpage.
Conclusion
Millis AI truly stands out as an exceptional platform for creating voice agents with remarkable speed and flexibility. Throughout this guide, we’ve walked through the entire process from account creation to full integration. Most importantly, you now possess the knowledge to build conversational AI agents that respond in just 600 milliseconds – a game-changing capability for modern applications.
Additionally, the platform’s versatility allows connections with various voice providers, LLMs, and integration methods, making it suitable for countless use cases. Whether you need customer support automation, virtual assistants, or specialized industry solutions, your newly created voice agent can handle these tasks efficiently.
Therefore, we encourage you to experiment with different configurations. Try various voice options, test different LLM integrations, and explore the webhook functionalities to discover what works best for your specific needs. The platform’s user-friendly interface certainly makes this experimentation process straightforward, even for those without technical backgrounds.
After all, the power of Millis AI lies in its combination of simplicity and advanced capabilities. With your voice agent ready for deployment, you’re now equipped to provide lightning-fast, human-like interactions that will undoubtedly enhance your applications and services. Start building today and experience firsthand how these responsive AI agents can transform your user interactions!
References
[1] – https://theresanaiforthat.com/ai/millis-ai/
[2] – https://www.millis.ai/
[3] – https://docs.millis.ai/api-reference/agents/update-agent
[4] – https://docs.millis.ai/core-concepts/agent-config
[5] – https://docs.millis.ai/integration/custom-llm
[6] –https://docs.millis.ai/tutorials/setup-custom-llm-websocket

